DMARC Email Report Processing
by Rick Blalock
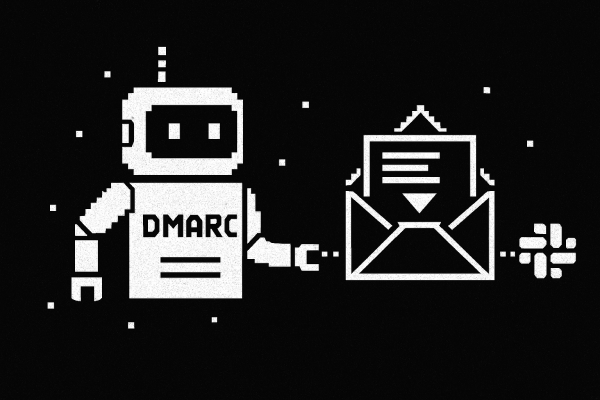
📧 DMARC Email Report Processing Agent
Welcome to the DMARC Email Processing Agent! This project automatically processes DMARC reports received via email, analyzes them, and sends notifications to Slack. Built with the Agentuity platform for reliable, scalable email automation.
📋 Prerequisites
Before you begin, ensure you have the following installed:
- Python: Version 3.10 or higher
- UV: Version 0.5.25 or higher (Documentation)
🚀 Getting Started
Authentication
Before using Agentuity, you need to authenticate:
This command will open a browser window where you can log in to your Agentuity account.
Development Mode
Run your project in development mode with:
This will start your project and open a new browser window connecting your Agent to the Agentuity Console in Live Mode, allowing you to test and debug your agent in real-time.
You can also start your project in development mode without connecting to the Agentuity Console:
📚 Project Structure
├── agents/             # Agent definitions and implementations
│   └── dmarc_email/    # DMARC email processing agent
├── utils/              # Utility modules
│   ├── gmail.py        # Gmail API authentication and email processing
│   └── slack.py        # Slack integration utilities
├── resources/          # Resource files and templates
│   └── templates.py    # Email and notification templates
├── bin/                # Scripts and executables
│   └── develop.sh      # Development setup script
├── .agentuity/         # Agentuity configuration files
├── pyproject.toml      # Project dependencies and metadata
├── uv.lock             # UV lock file for reproducible builds
├── server.py           # Server entry point
├── main.py             # Main application entry point
└── agentuity.yaml      # Agentuity project configuration
🔄 Agent Flow Diagram
The DMARC Email Processing Agent follows a structured workflow starting from the run() method in agents/dmarc_email/agent.py:
Input and Output
Input
- DMARC Report Emails: Emails sent to the agent's Email IO address
- Attachment Types: XML, ZIP, or GZ files containing DMARC reports
- XML Content: DMARC reports in XML format containing authentication results
Processing
- Email Reception: Receive emails via Agentuity Email IO
- Attachment Processing: Extract and decode attachment content
- Format Detection: Identify DMARC files (XML, gzipped XML, ZIP)
- Content Extraction: Parse and extract DMARC XML reports from attachments
- Analysis: Process reports using OpenAI GPT-4o with specialized prompts
- Summarization: Generate concise summaries of analysis results
Output
- JSON Response: Summary of DMARC analysis returned by the agent
- Slack Notifications: Analysis results sent to configured Slack channel
🔧 Configuration
Your project configuration is stored in agentuity.yaml. This file defines your agents, development settings, and deployment configuration.
🛠️ Advanced Usage
Environment Variables
You can set environment variables for your project:
Secrets Management
For sensitive information, use secrets:
🚀 Production Deployment
To deploy this agent in a production environment (non-interactive, headless, or cloud):
1. Set Required Environment Variables
Set the following environment variables in your production environment .env
SLACK_BOT_TOKEN=<your Slack bot token>
DMARC_CHANNEL_ID=<your Slack channel ID>
AGENTUITY_SDK_KEY=<your Agentuity SDK key>
ENVIRONMENT=production|development
2. Import Project
- If you don't already have a project created for this project, you can run
agentuity project importin this repository to import this project to your Agentuity account. This will create a new Agentuity project, and automatically updatesagentuity.yamlto point to your new project and agent_id
3. Deploy Your Code
- Ensure your environment variables are set
- Deploy your project to production with
agentuity deploy
4. Set Up Email IO
- Visit your Agentuity dashboard and navigate to your DMARC project
- Go to the
Agentstab and find yourdmarc_emailagent - Add a new Email IO by clicking on the Email option
- Copy the generated email address (e.g.,
agent_id@agentuity.run) - Configure your DMARC email routing to forward reports to this agentic email address
- Save the Email IO settings
5. Test Your Agent
- Send a test DMARC report email to the agentic email address
- Check your Slack channel for the analysis results
- Monitor the agent logs in the Agentuity dashboard for any issues
📖 Documentation
For comprehensive documentation on the Agentuity Python SDK, visit: https://agentuity.dev/SDKs/python
🆘 Troubleshooting
If you encounter any issues:
- Check the documentation
- Join our Discord community for support
- Contact the Agentuity support team
📝 License
This project is licensed under the terms specified in the LICENSE file.
DMARC Email Report Processing
by Rick Blalock